
I love knitting color work. It is fun and interesting, and looks beautiful and intricate. But I also like to do things quickly. Now, you might think that knitting beautiful color work and knitting with speed and effiency are separate and incongruent concepts.
Au contraire, my friends. Au contraire.
You may be surprised to learn that traditional Fair Isle knitting designs were developed for speed. For traditional Shetland knitters, the more sweaters a woman could knit in a week, the more money she had to put food on the table. So you see, speed was imperative!
Here are some of the key requisites for speed and efficiency in Fair Isle knitting:
- Maximum of 2 colors per row
- Small intervals between color changes
- Simple shapes and repeats
- Small movements of fingers and hands
Let’s look at each in turn:
1) Maximum of 2 colors per row
Despite the fact that some Fair Isle designs use up to twelve different colors (though often no more than six or eight), the general rule is to use no more that two colors on a single row. This makes it possible to hold both strands of yarn at the same time, and eliminates any stopping and starting involved with dropping and picking up new colors.
2) Small intervals between color changes
By keeping the interval between color changes short (no more than 4 or 5 stitches), there is no need to pause and twist the strands to ‘carry’ the unused color. Also, it prevents creating long strands, which are susceptible to snagging and allows for more even work (i.e. less puckering).

Example of Fair Isle pattern chart, using 6 colors
Single row of chart showing no more than 2 colors and small intervals between color changes
3) Simple shapes and repeats
Stopping to look at a chart takes up time. The simple shapes characteristic of Fair Isle knitting makes the pattern easy to remember without referring to a chart.
4) Small movements of fingers and hands
Traditional Shetland knitters work with a knitting belt, and three long, heavy double-pointed needles. The knitting belt is absolutely essential for speed and frees the knitter from supporting the right needle. The right hand hovers above the knitting, and the fingers flick the yarn over the needle, while traveling minimal distances – a bit like touch typing. (For more information, see The Art of Fair Isle Knitting, by Ann Feitelson)
Though most of us will not be using a knitting belt, we can speed up our knitting by minimizing the movements that our fingers and hands make as we pass the yarn over the needles.
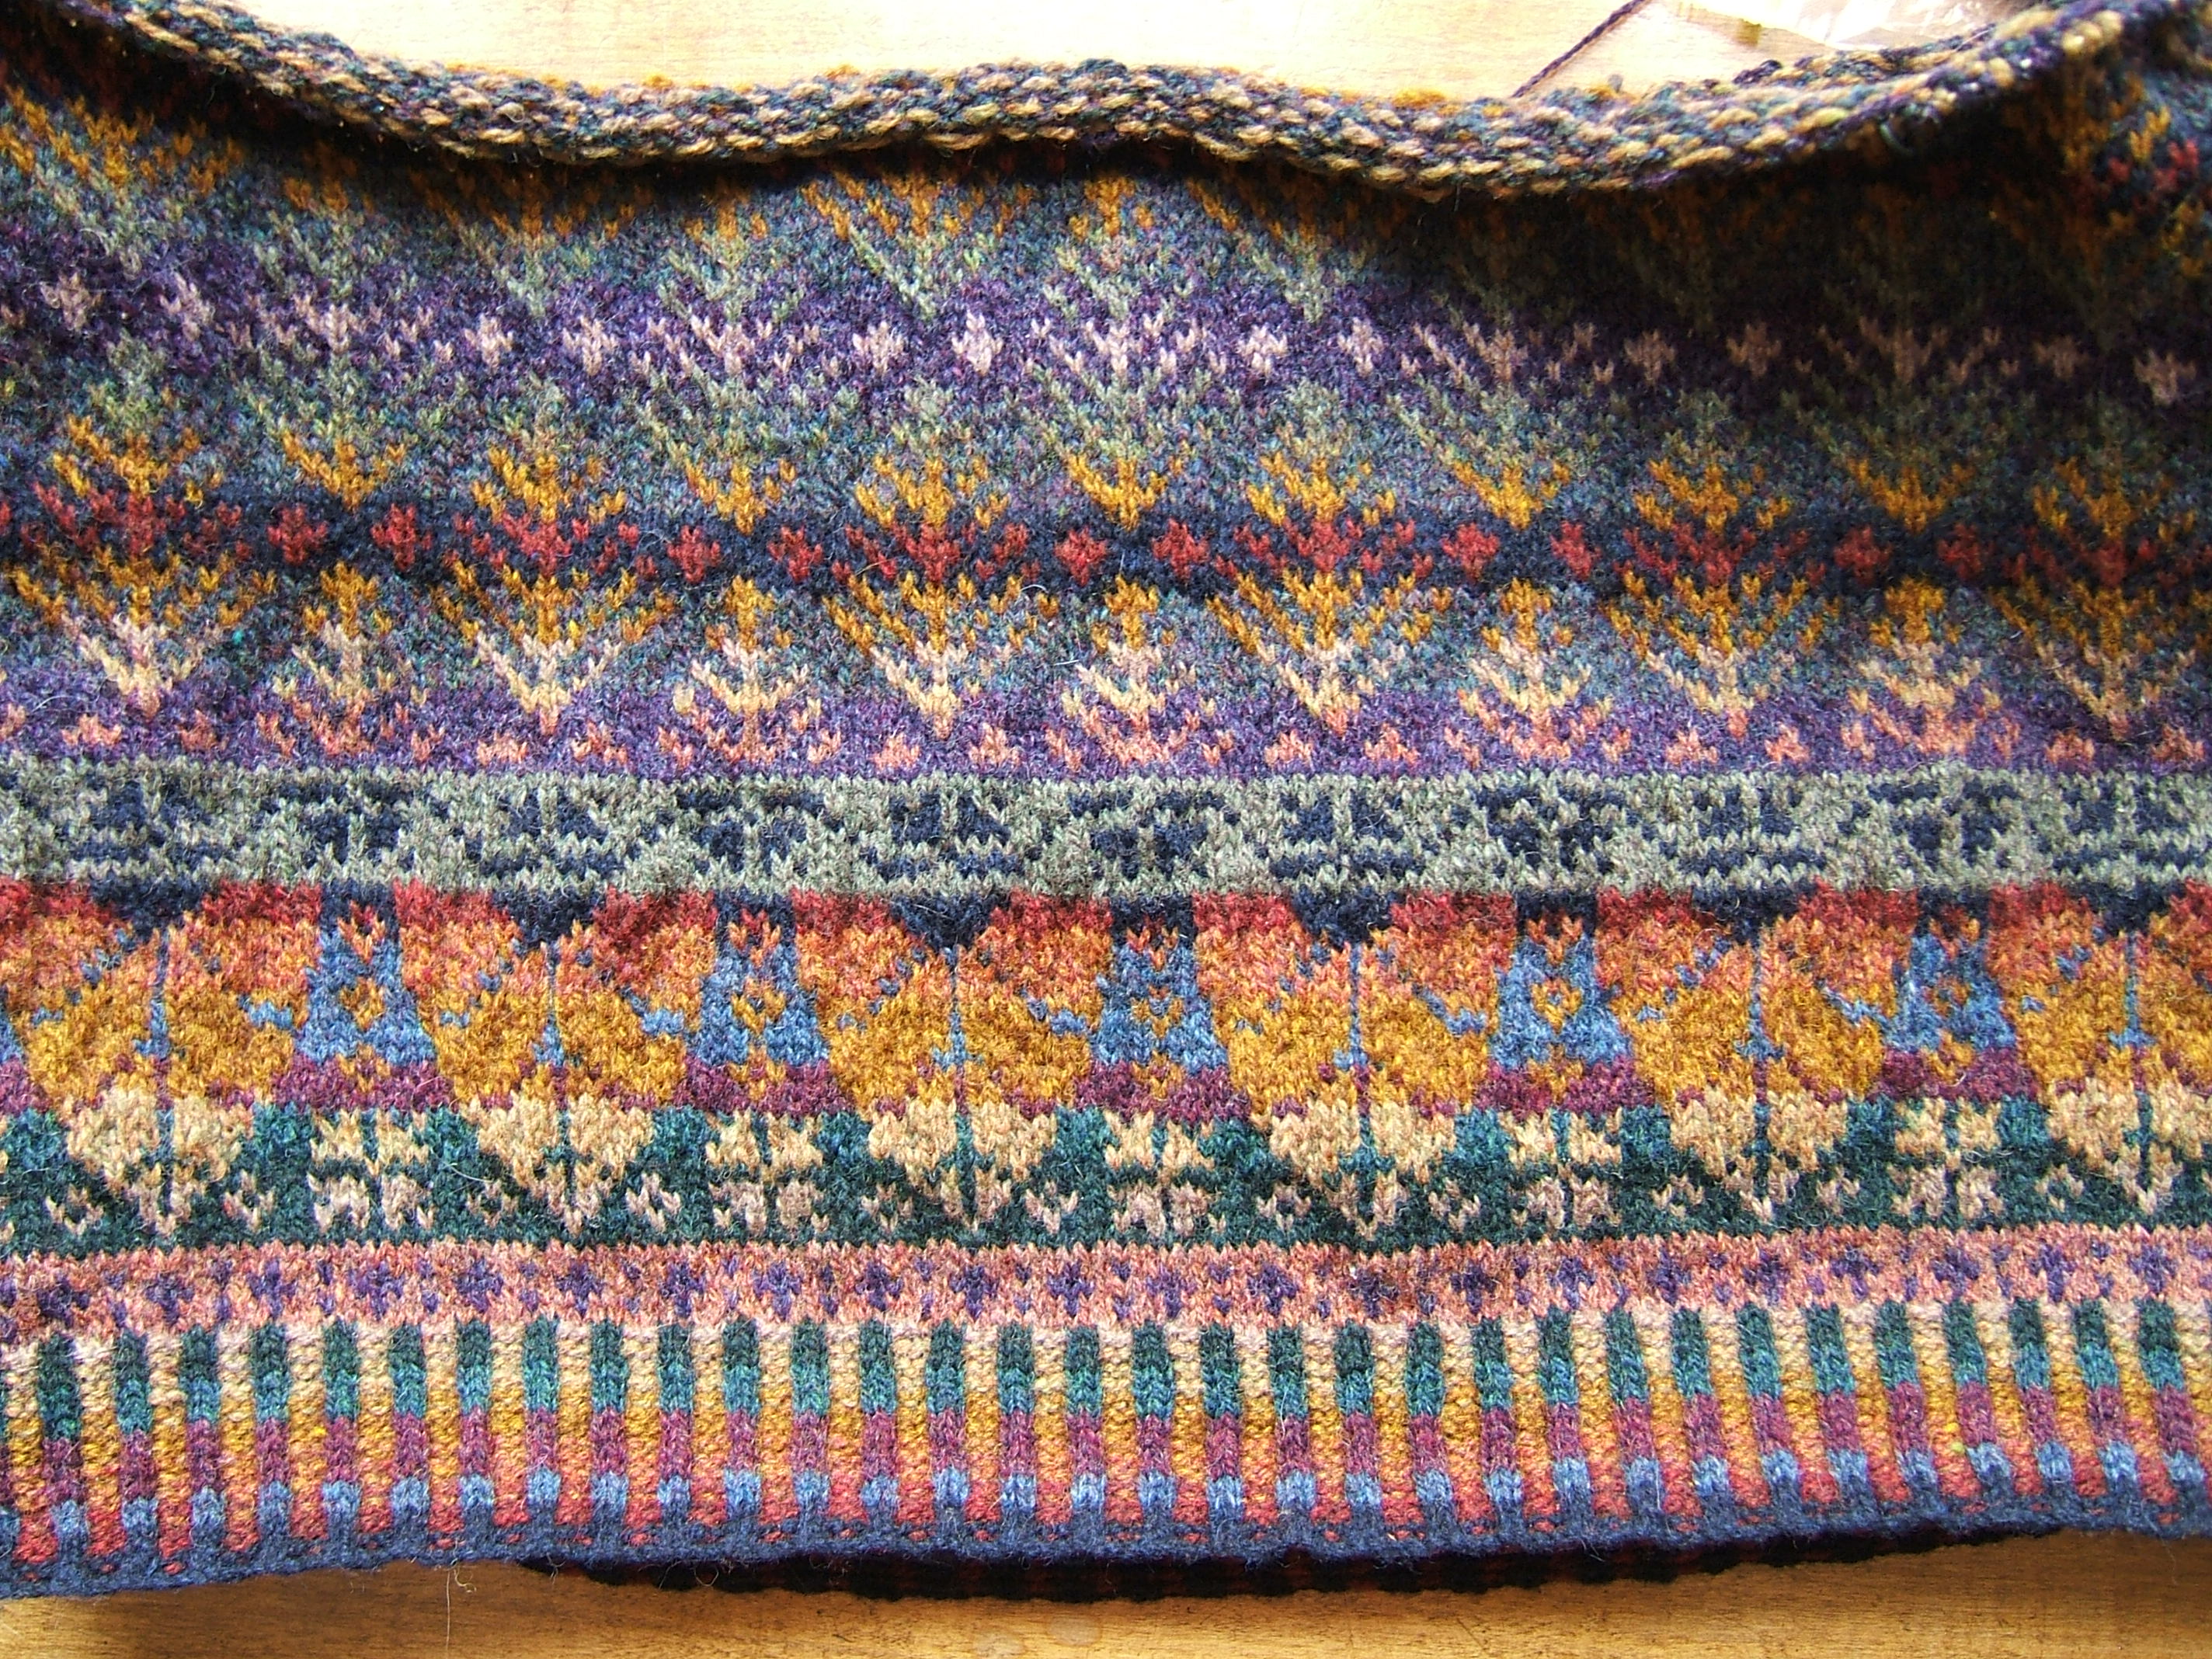
A stunning example of Fair Isle knitting
photo credit: knittinganney via photopin cc
Some of you may feel intimidated by the apparent complexity of Fair Isle knitting, but honestly, it really is not that difficult! When taken one row at a time, you will find yourself falling into a simple rhythm of pattern and background stitches.
I find it helpful to have a sort of counting mantra that allows me to remember the pattern repeats across the row. I chant away to myself, singing “two, one, one, one; three, one, one, one; two, one, one, one; three, one one one”, and so on. Before I know it, I have reached the end of the row, and then a new mantra begins: “two, two, two, one/two, two, two, one….”
These tricks help to promote faster knitting. You’ll think less and move more automatically and rhythmically. This rhythm not only makes the work seem effortless and enjoyable, but it is also essential for speed!
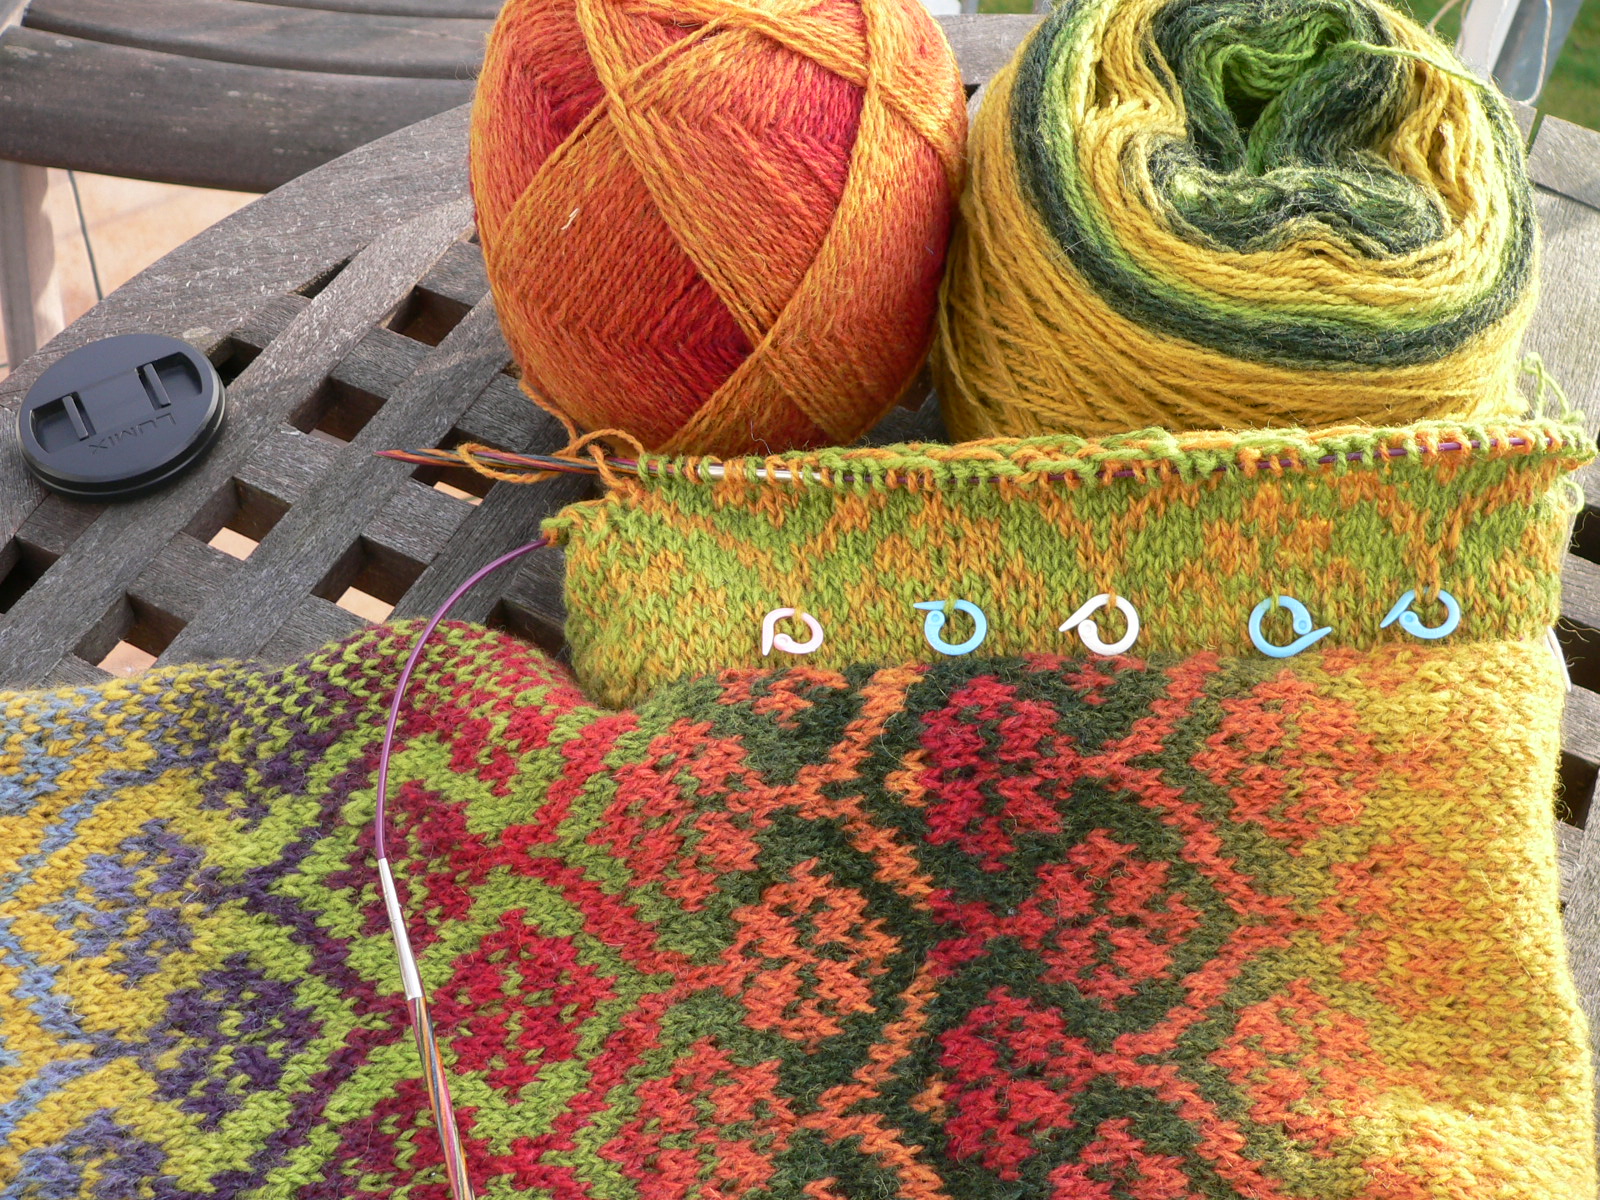

photo credit: sand_and_sky via photopin cc
I hope this post offers you some reassurance that Fair Isle knitting is not as difficult as it appears, and maybe even convince you to give it a try if you haven’t already?
Good luck, and happy knitting!


